When you think about it, getting a prospective student tenant’s attention comes down to just a few seconds. Today’s world is a quite hectic one, and in the world of smartphones and the internet, students are scrolling and sifting through rental listings in just a matter of moments. Just as quickly as someone can stumble upon your listing, they can stop looking at an even quicker pace. When students have the power to search through hundreds of listings with the swipe of one finger, it’s important to make a good first impression. As the old adage goes, pictures really do say a thousand words, and whether or not you realize it, including quality photos of your rental property can really make or break your odds of leasing it out.
Why are we so confident that good photos are so important to include in your listing? We surveyed student renters across the nation to get their take on what they want to see in your listings, and we learned just how important photos are to students when it comes to finding off-campus housing.
Here’s what we found out:
- 86% of student renters said they would not contact a landlord who did not have any property photos on their listing
- 92% of students would prefer to see interior pictures over exterior pictures of a property
- 79% of students said in order for them to contact a landlord, they would need to see, at minimum, one photo of the exterior and multiple interior photos
As you can probably gather from the stats above, if you want to increase your chances of having renters consider your listing as an option, you’ll have to include a variety of quality photos of your property. Before you frantically go take a thousand photos of your rental, check out the tips below for what to take pictures of and how to make them look professional.
Tip #1: Take Multiple Interior Photos
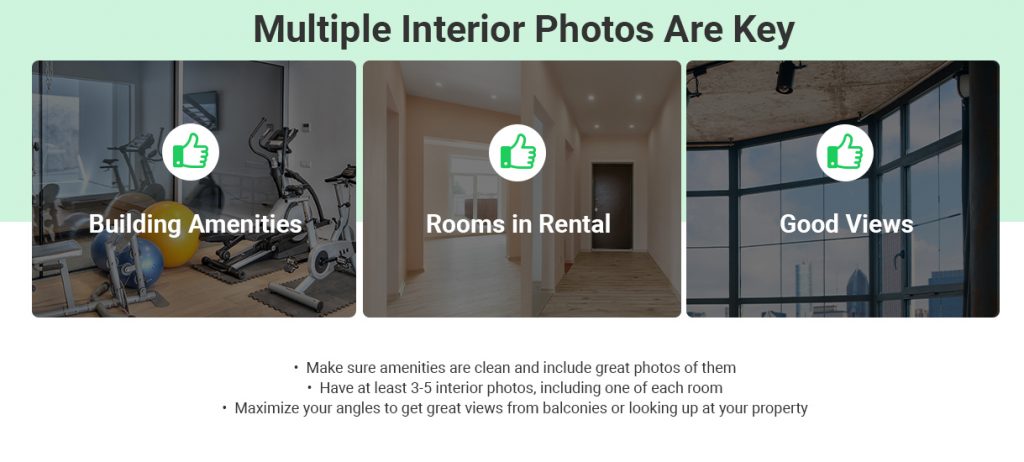
Renters want more than just the exterior photo or one picture of the kitchen. Visuals tell renters exactly what they want to know, and that’s what the unit looks like. The tenant wants to visualize themselves living in your rental. If possible, try to take pictures of every room, including closets, hallways, balconies, any good views from the window, building amenities, basement, etc.
Far too often a renter will arrive for a showing with an idea of a place and leave with another. Having more photos helps to ensure that the prospective tenant comes to a showing knowing what the unit looks like beforehand, saving you time that’s not wasted.
Tip #2: Take (Some) Exterior Photos
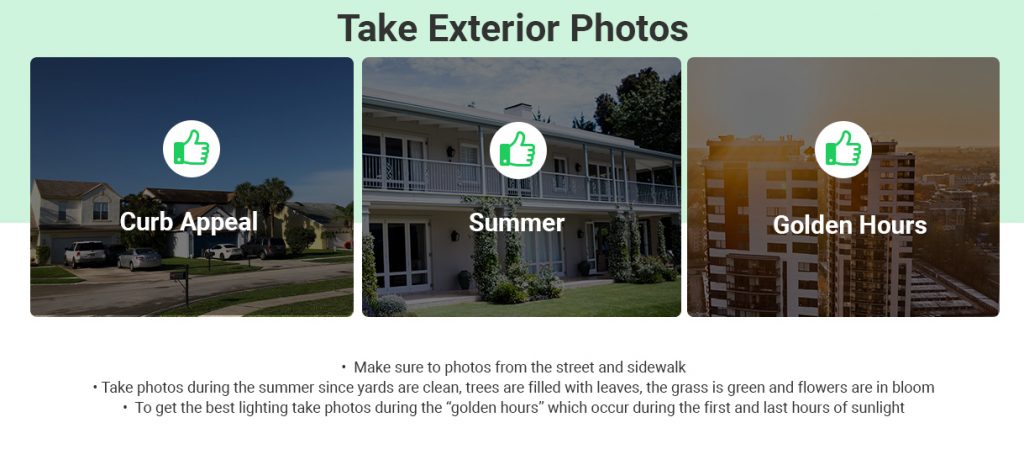
While it’s more important to have a variety of photos of the interior of your rental property, you should still add a photo or two of the exterior of your rental to add a little curb appeal.
When taking outdoor photos, doing so during the summer months is preferred. In the summer months, yards and driveways are cleared of mucky snow, the surrounding trees are filled with leaves, the grass is green and flowers are in bloom.
To get the best lighting, take photos during the “golden hours,” which occur during the first and last hours of sunlight. This will help ensure a quality image.
Tip #3: Highlight Key Features
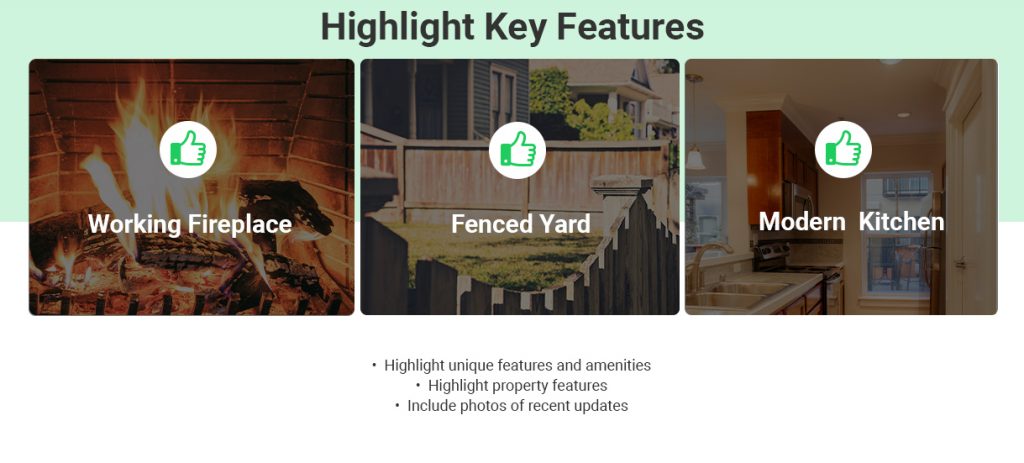
Be sure to highlight (and photograph) unique features and amenities that your property includes. Does your rental have a fireplace? Does it have a big fenced-in backyard that’s great for dogs? How about an apartment complex with an amazing rooftop sundeck and awesome view to match? Parking? An updated kitchen? Funky built-in shelves? Spice up your listings, and peak interest, by showcasing features that make your property stand out.
Tip #4: Consider Lighting and Angles
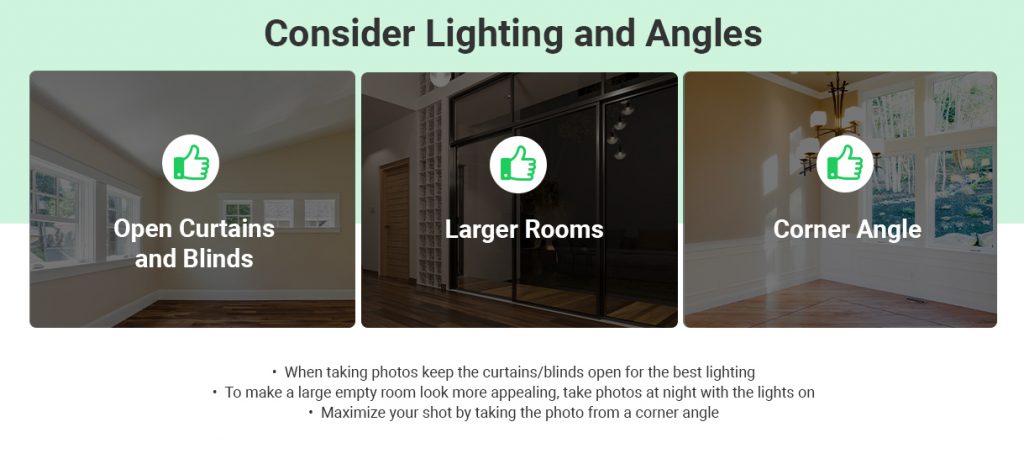
If you don’t have a professional camera, taking pictures on a smartphone works just fine–just make sure to take them horizontally, and be sure to check the lighting. Take photos on a sunny day with curtains and blinds open, and make sure to turn on all of the lights. This will help make your pictures look brighter and bigger versus doing it at night. The more lighting you add, the bigger the room will appear. To make a large empty room look more appealing, you can try taking the photo at night with the lights on. Just be sure to close all curtains and blinds to help with overshadowing.
In addition, you’ll want to consider the angles at which you take your photos, too. To get the best shot, stand at the widest vantage point of the room—this is usually in the corner. For each shot, only include two walls, the floor, and a portion of the ceiling. Showcasing three walls makes a room seem closed in. Also, avoid taking pictures from too low or too high. This makes the room appear fake and warped, and nobody will ever be viewing the property from the ceiling or the ground.
Tip #5: Add A Video Walkthrough
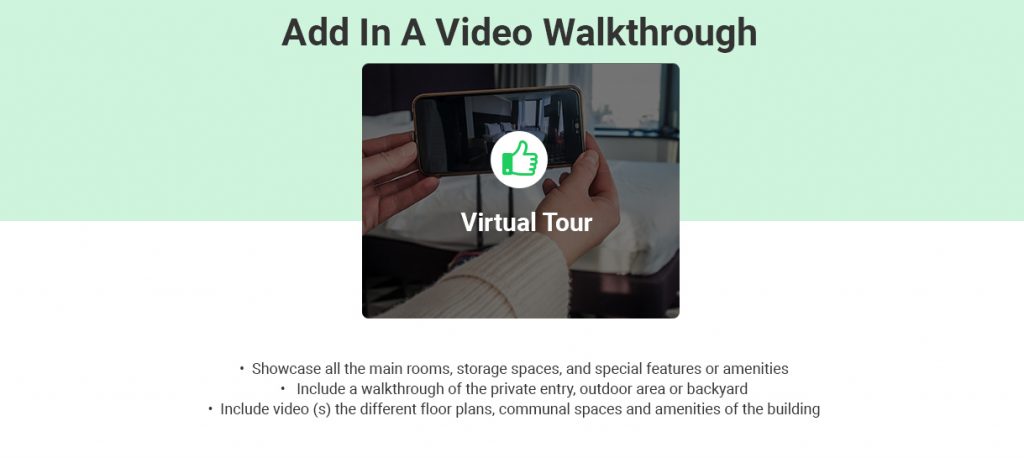
In addition to multiple photos, do a walkthrough video tour of your property as an added bonus. Besides current day health concerns, many students are searching for their off-campus housing from another city or country than where their college campus is located. It’s important to see as much of a unit as possible to get an accurate representation of a property before signing a lease. Besides in-person tours, there really is no better way for a student to fully understand how a unit looks than from a video tour.
Now more than ever students are using their phones to browse, so any video tour should be filmed vertically, and you can do it on a phone, too. Do a slow walkthrough of all main rooms, storage spaces, and special features or amenities. If you have a house or unit with a private entry, be sure to show the outdoors or backyard. For apartments, consider taking videos of different units or floor plans and create a separate video walkthrough for all communal spaces and amenities of the building. One or two minutes is long enough, and you can choose to add in narration or not.
Rental listings with pictures included undoubtedly receive more views, helping landlords to rent their units faster and decrease their rental vacancy rates. Taking pictures of your property may seem like a daunting and tedious task, but the process really doesn’t take long and you don’t need expensive equipment to do it, just your smartphone. Putting in the minimal time and effort is worth it, and you can reuse the photos for years to come.


